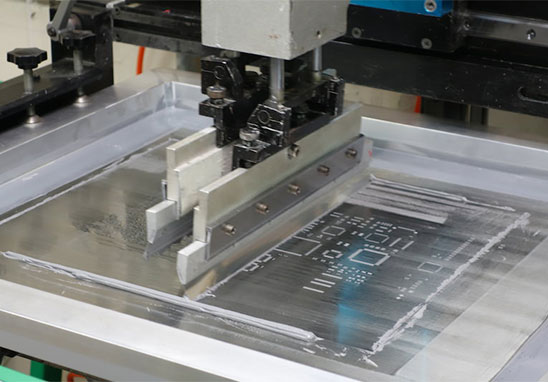
Grande has its own SMT factory, which can provide SMT Assembly services for the smallest package 0201 components, and supports various Assembly forms like based on sample Assembly and PCBA OEM. Now let’s talk about the stencil manufacturing requirements in SMT Assembly.
1. Dimensions & Frame of The Stencil
Before PCBA SMT Assembly, custom designed stencils are required to make the SMT Assembly Printing more perfect and suitable. The most important thing about the stencil that is the size and frame. As you probably know, the stencil adopts the stretching method of AB glue and nylon mesh, and a layer of protective paint (S224) must be scraped evenly on the seam between the aluminum frame and the glue. Furthermore, in order to ensure that the stencil has enough tension (specified more than 35N/cm, generally 30~50N/cm) and good flatness, the distance between the stencil and the inside of the frame is required to be no less than 25mm, preferably within the range of 50-100mm . As shown in Figure 1.
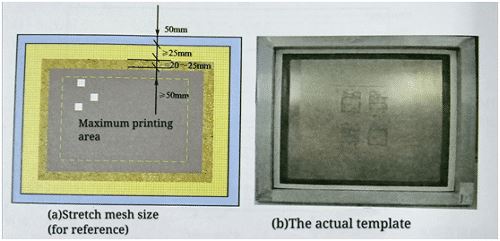
Since the stencil to the inner side of the frame, the bonding area between the stencil and the nylon mesh, and the bonding area and the printing area need a certain distance, the inner size of the frame is not the maximum size available for the stencil, and the most useful maximum printing size is the inner side of the frame. size. Go to 220mm or larger size. Of course, this also depends on the width of the press rails, the size of the wiper mechanism and the size of the frame. For instance, the DEK265 press has a frame size of 29″x29″ and a maximum printing area of 510mmx489mm.
2. Tension
Stencil tension refers to the tension of the nylon applied to the stencil, which can be measured with a tensiometer. The principle is to test the thrust required for the part of the stencil to sink per unit distance, in N/cm, as shown in Figure 2.
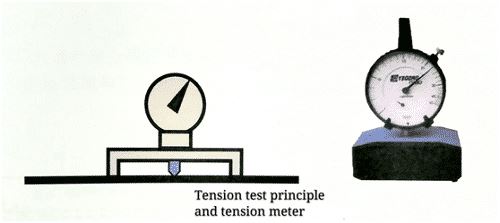
In order to ensure the flatness of the stencil, sufficient tension is required, generally greater than 35N/CM, usually in the range of 30-50N/cm.
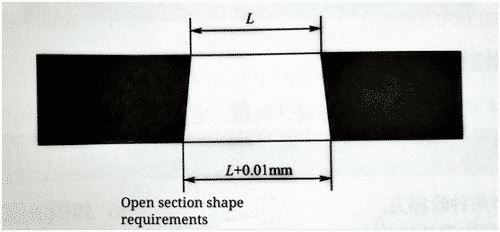
3. The Shape & Roughness of The Stencil Hole Wall
Ideally, the opening portion of the stencil should be inverted tapered; For example, the dimension below the opening is about 0.01mm wider than the dimension above (depending on the thickness of the stencil). As shown in Figure 3:
In the above cases, the stencil openings should be ground:
QFP, SOJ, PLCC, SOP, socket, and CSP devices with 0.5mm pitch and below, all printed stencils.
4. Dimensional Tolerance
At present, the processing accuracy of electro-polished stencil of major domestic stencil manufacturers is as follows.
1. Opening dimensional accuracy: 0-0.010mm.
2. Opening position accuracy: 0.005~0.03mm.
3. The outside opening accuracy of the screen frame: within 2mm.
4. Material thickness: 0.030~0.600mm.
5. The centering accuracy of the graphics in the frame: within 1mm.
6. Material thickness accuracy: within 0.003.
7. Roughness of side wall (hole wall): 0.005~0.006mm.